Device Settings
Set up the WiFi
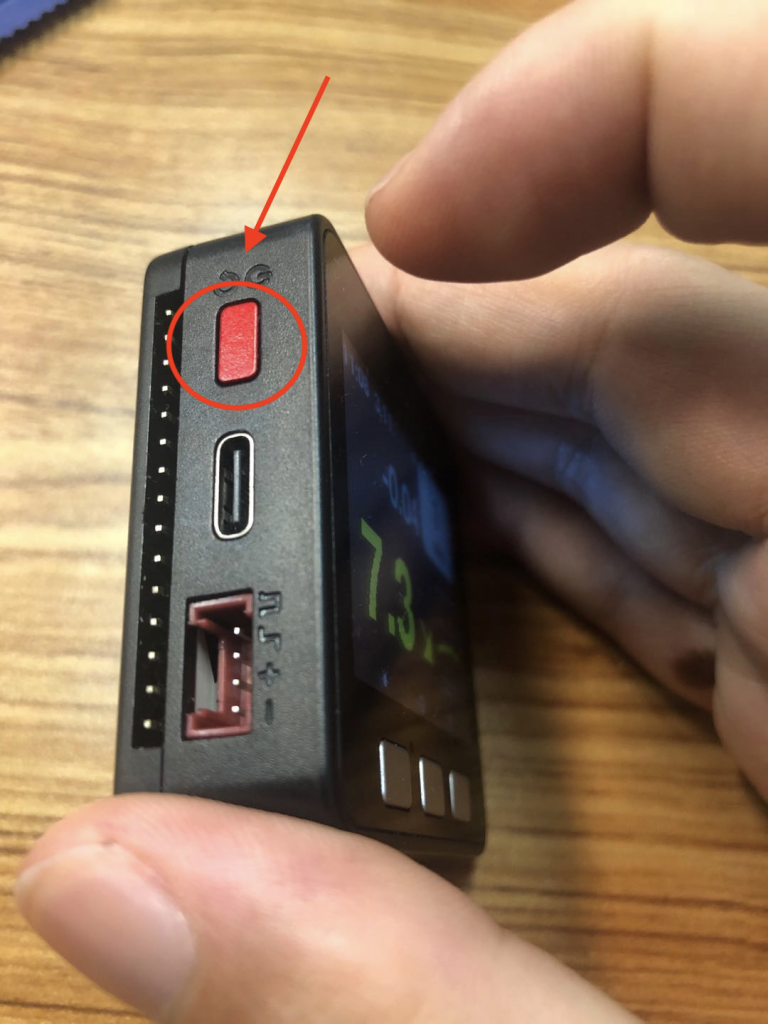
- Get the flashed firmware M5, press the red button on the left to turn on the device.
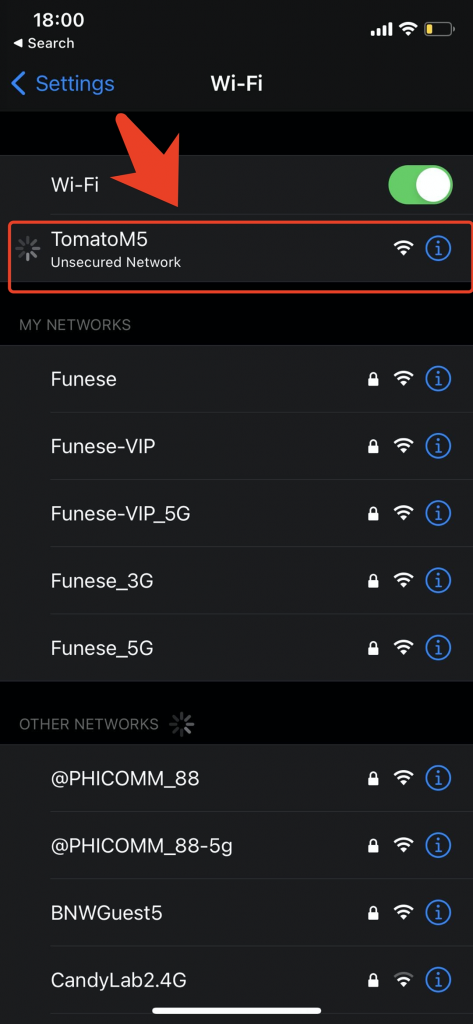
- Follow the prompts on the screen to connect to WiFi TomatoM5 with your mobile phone.
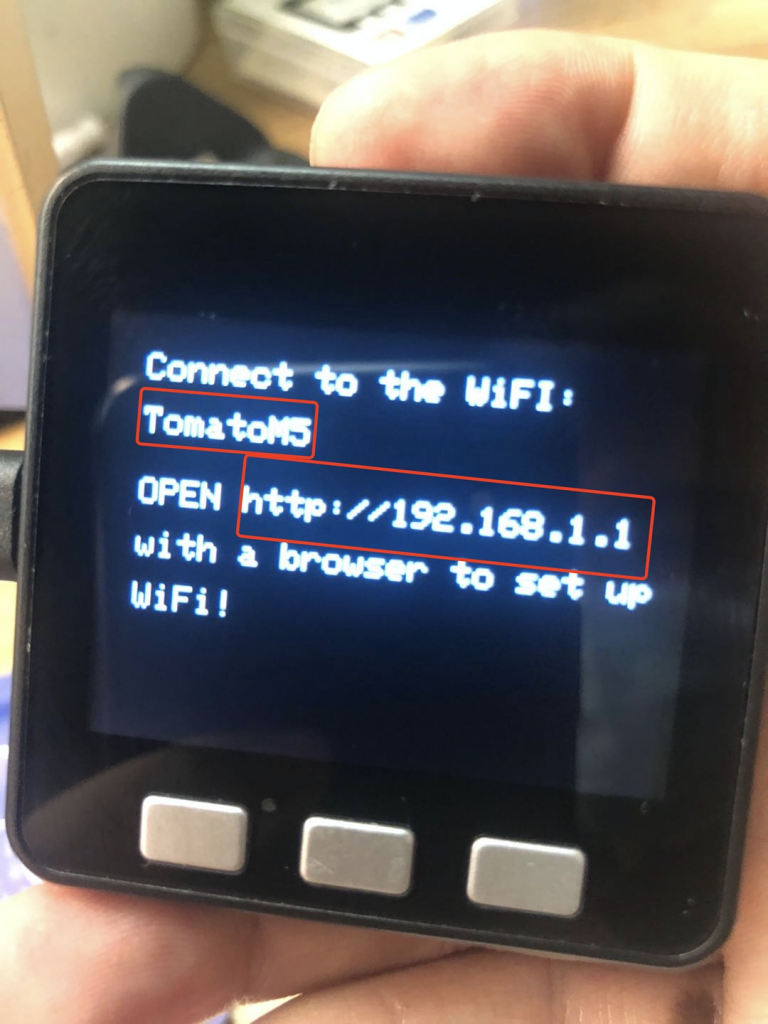
- After connecting to WiFI, open the website with a mobile browser: http://192.168.1.1.
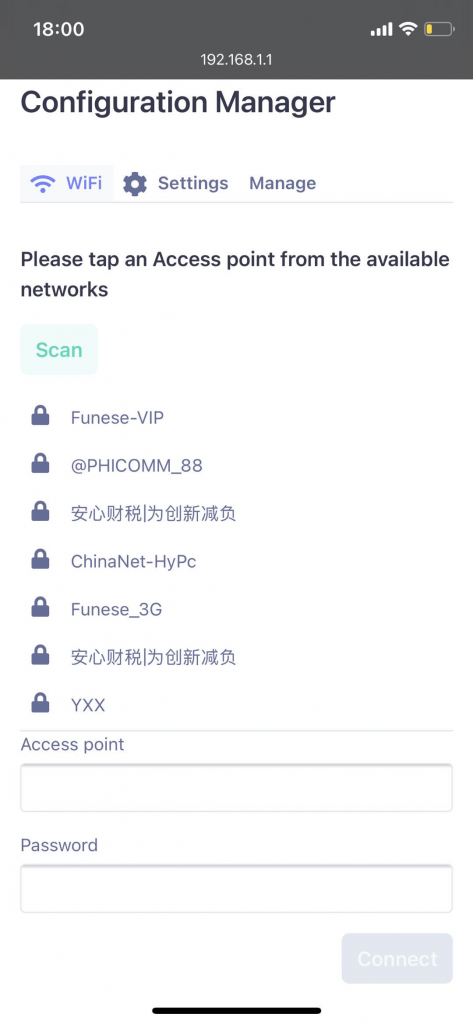
- Enter the page, select WiFi, and enter the password.
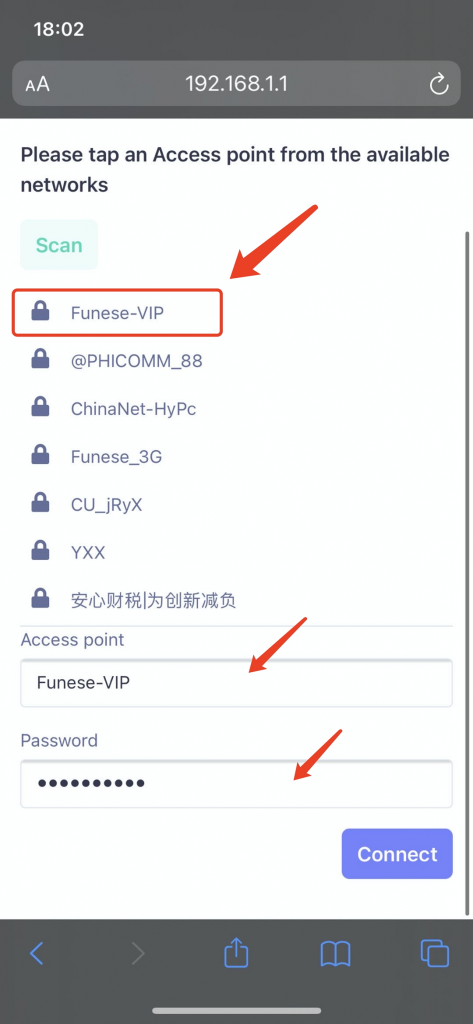
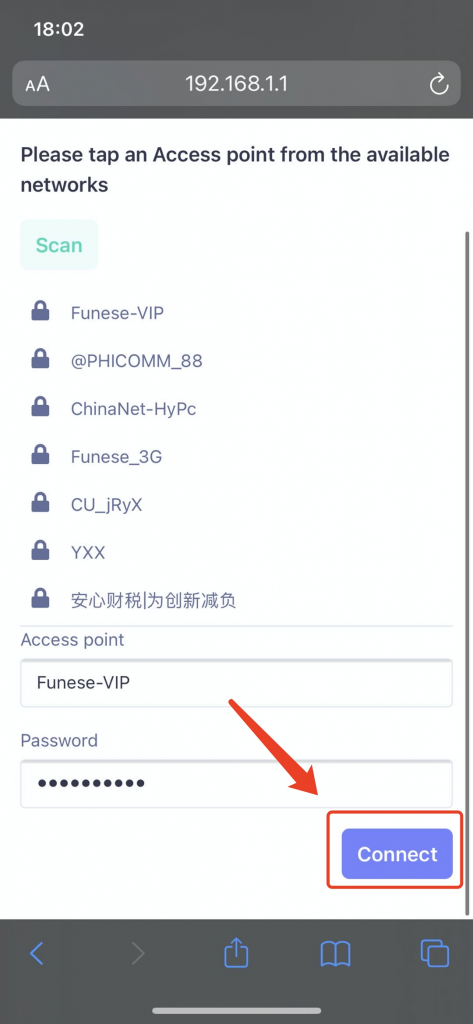
- Click the connect button and wait for the device to restart.
Tomato Settings
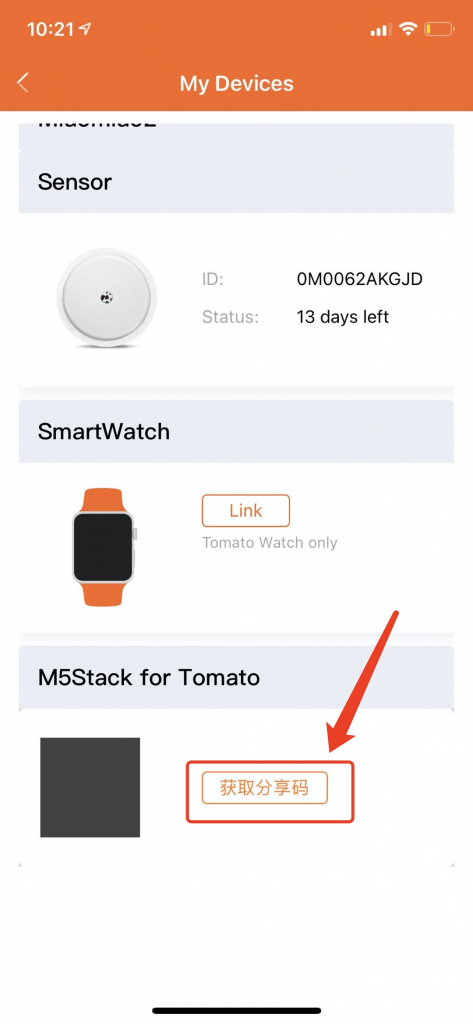
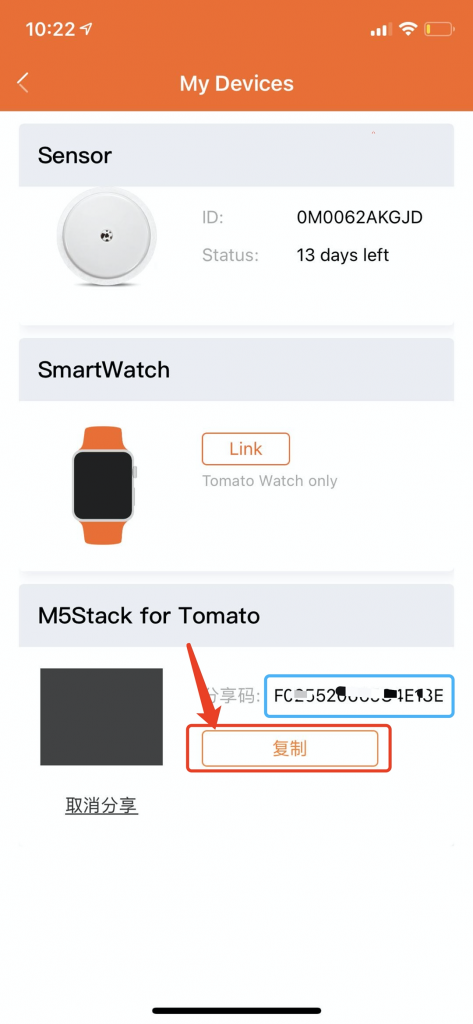
- Go to the My Device page in the Tomato App and click the “Get Sharing Code” button next to TomatoM5. After the button is clicked, the sharing code will appear. Click the “copy” button to copy the sharing code.
-
Wait for the M5 device with WiFi set to boot.
-
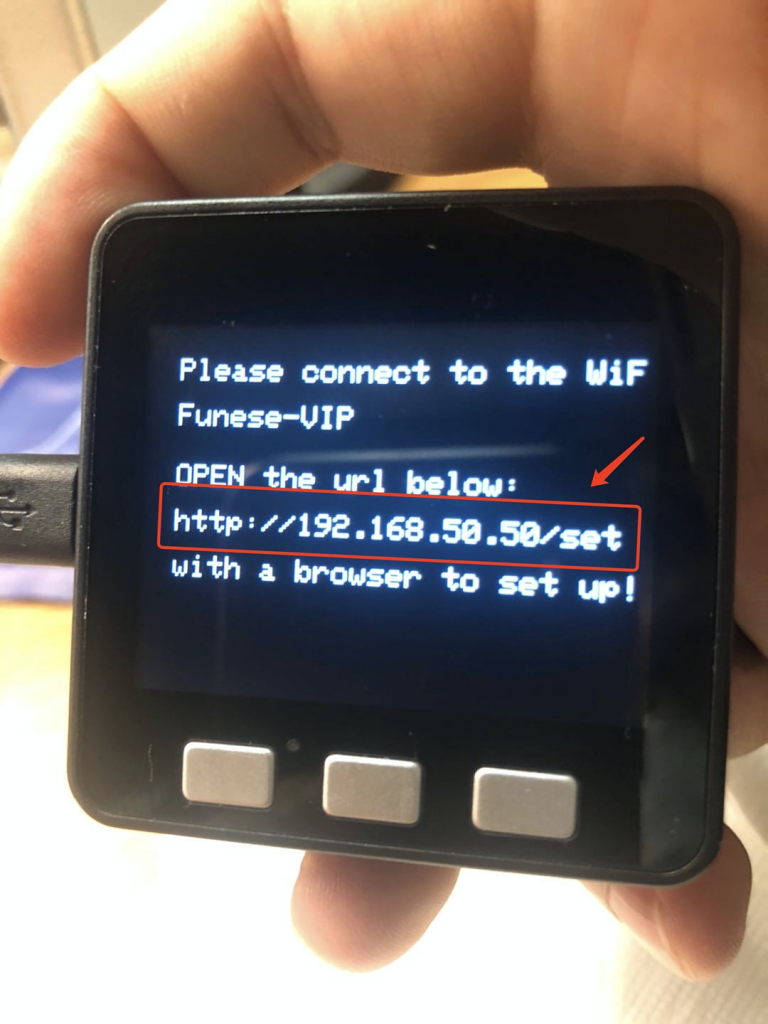
Follow the prompts on the screen to connect to the designated WiFi with your mobile phone.
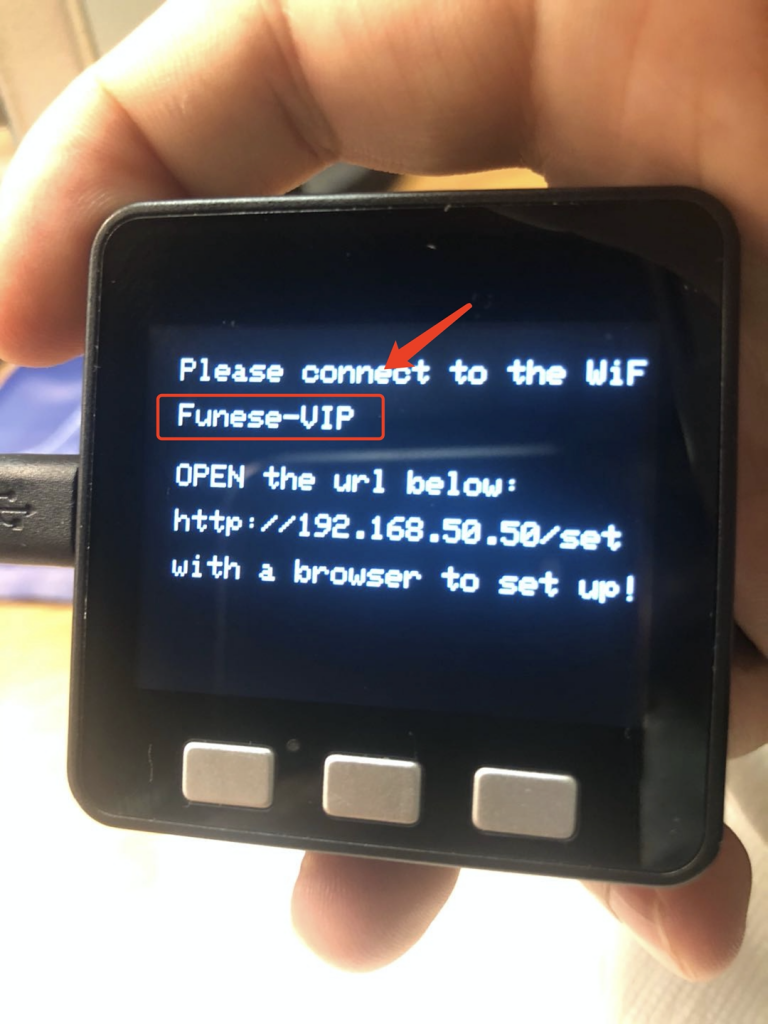
- Open the corresponding URL, similar to http://192.168.50.50/set. The URL is different for each device, please follow the instructions on the screen.
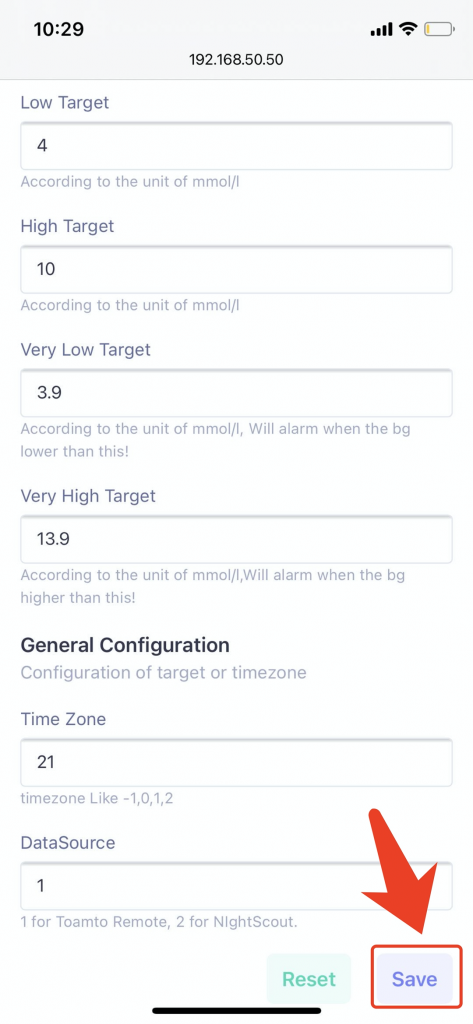
- Under Settings Tab, fill in the shared code you just copied, and set the Data Source in General to 1, fill in the correct time zone (similar to 1, 2, -1, -2).

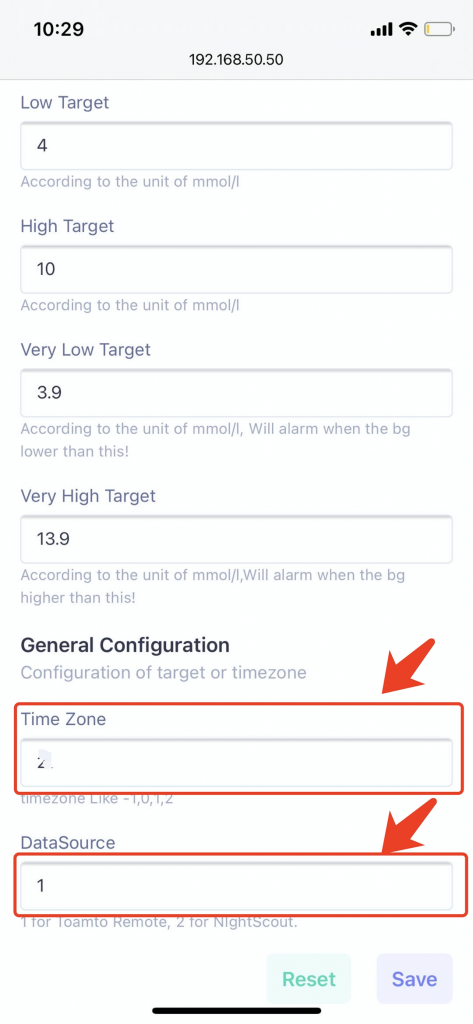
- Tap the Save button to Submit Form.
Nightscout Settings
- Enter the setting page in the same way as the above method.
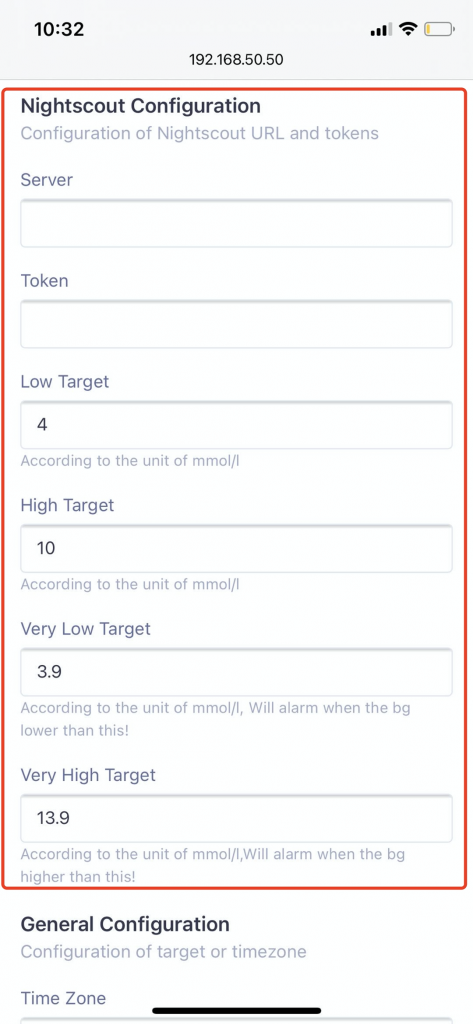
- Under the Settings Tab, fill in the Nightscout Server and token. And fill in the blood glucose target value (in mmol/L as the unit). Then change the Data Source in General to 2.
- Submit Form.
Instructions
Daily use
-
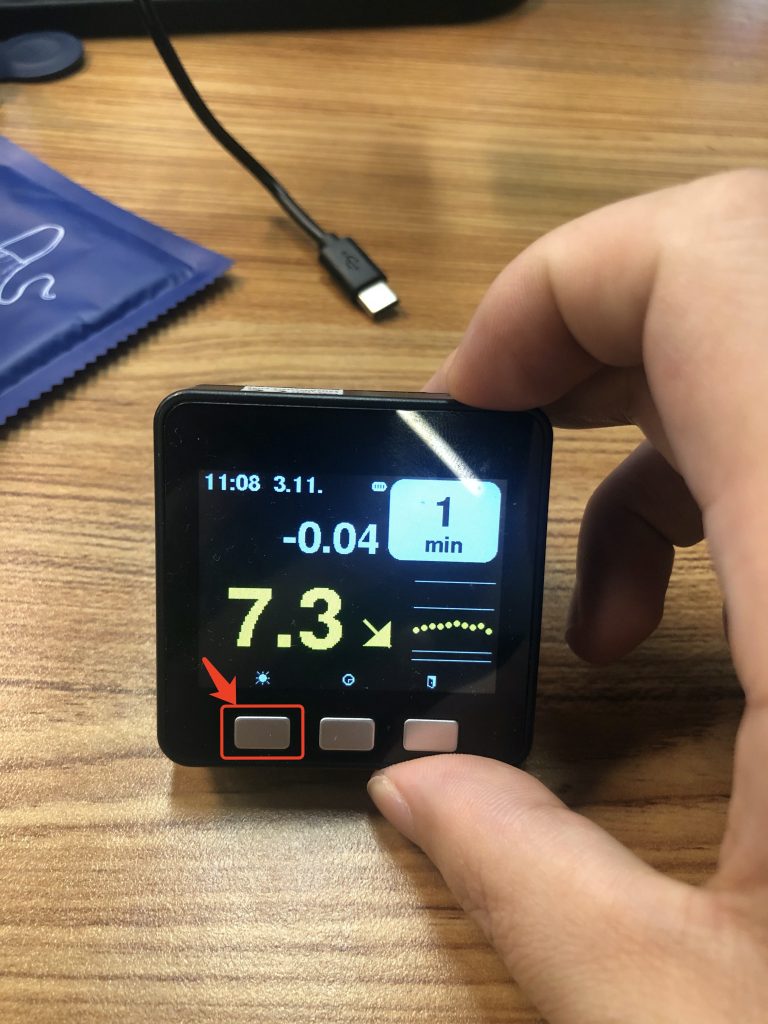
Adjust brightness: Press the first button on the left to switch between different brightness.
 2. Snooze: Press the middle button to start a 30-minute Snooze.
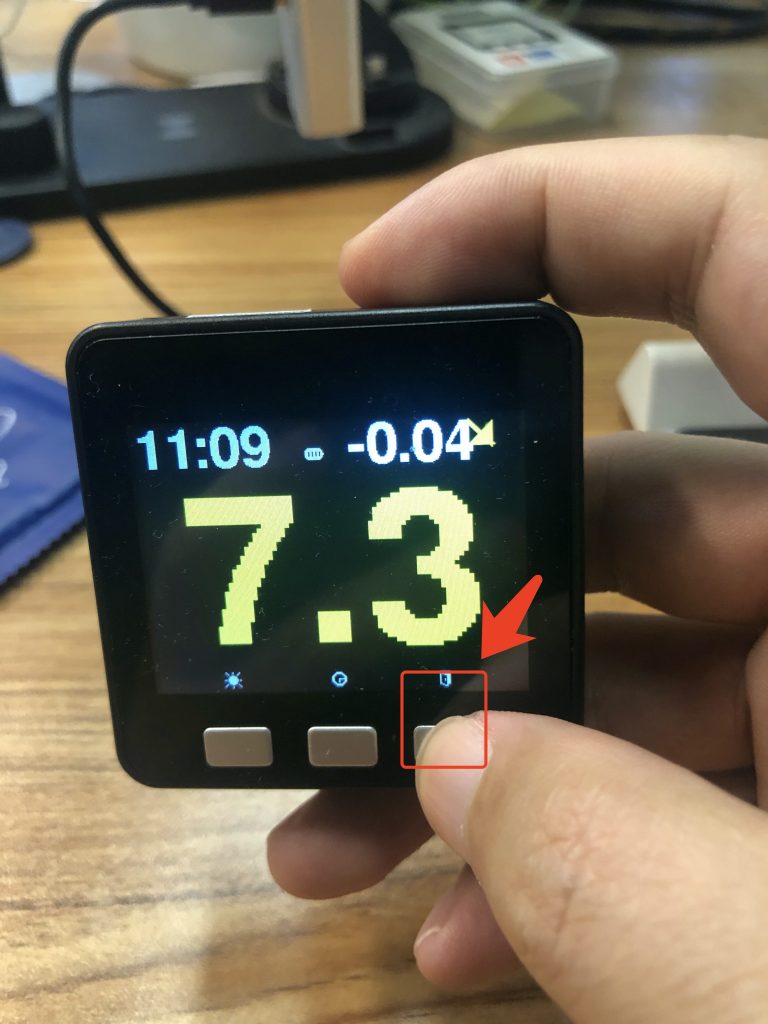
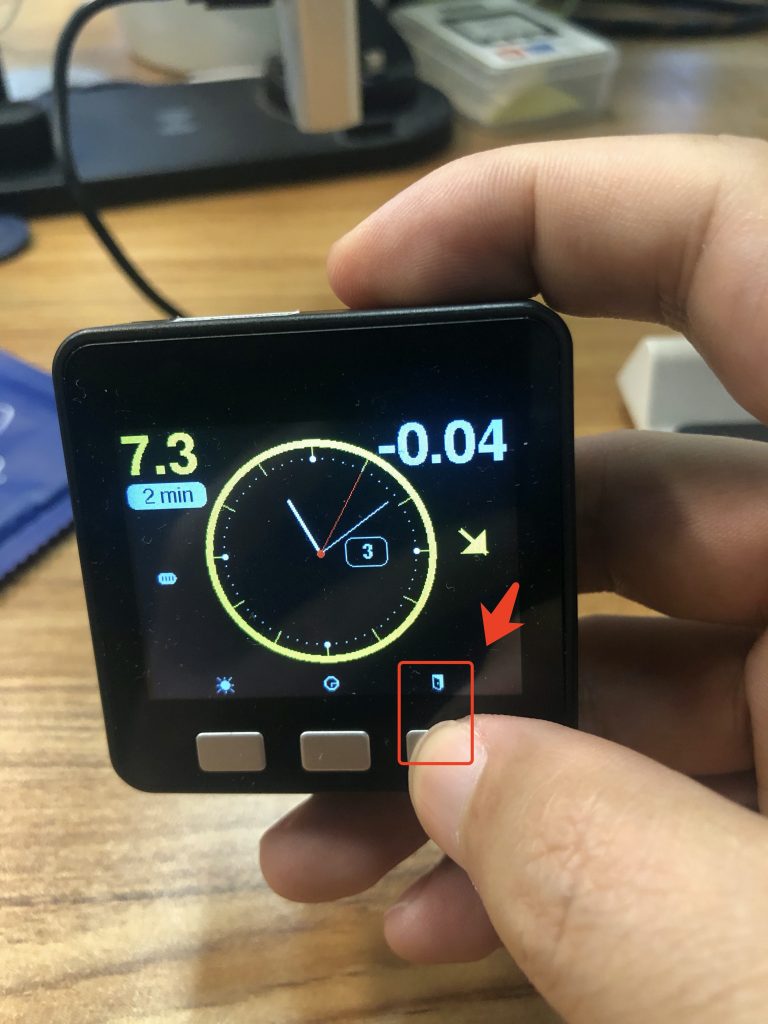
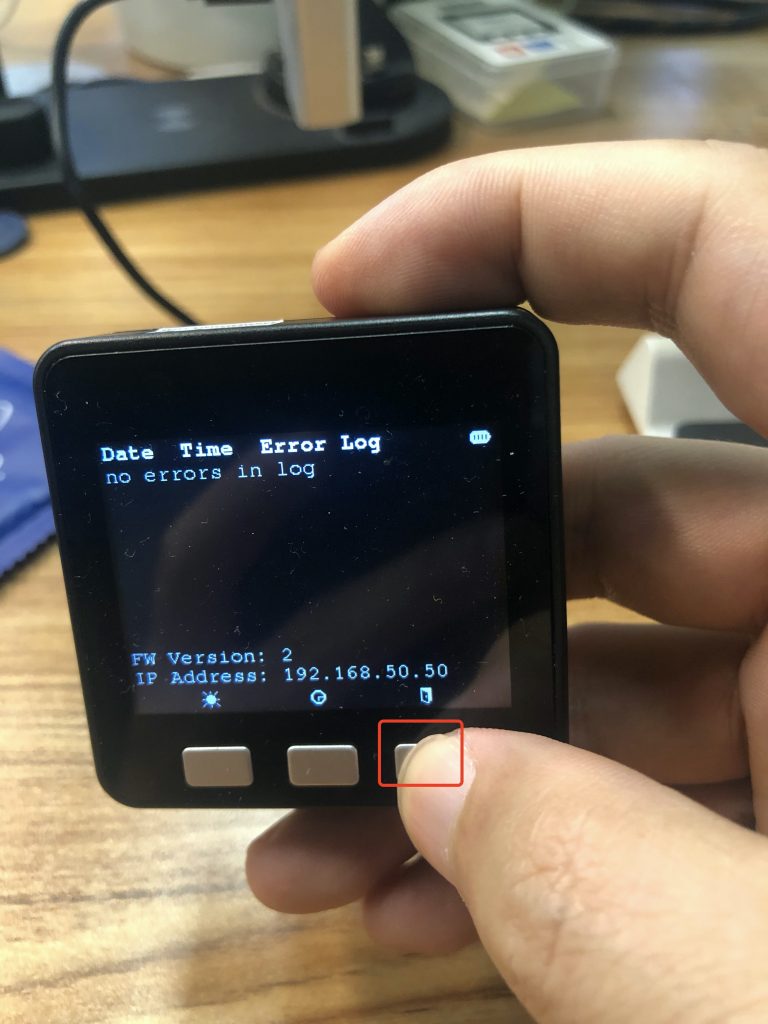
 3. Switch pages: Press the button on the right to switch between different pages. There are four pages respectively, the main page, the blood glucose zoom display page, the clock page and the log page.

Firmware Update
-
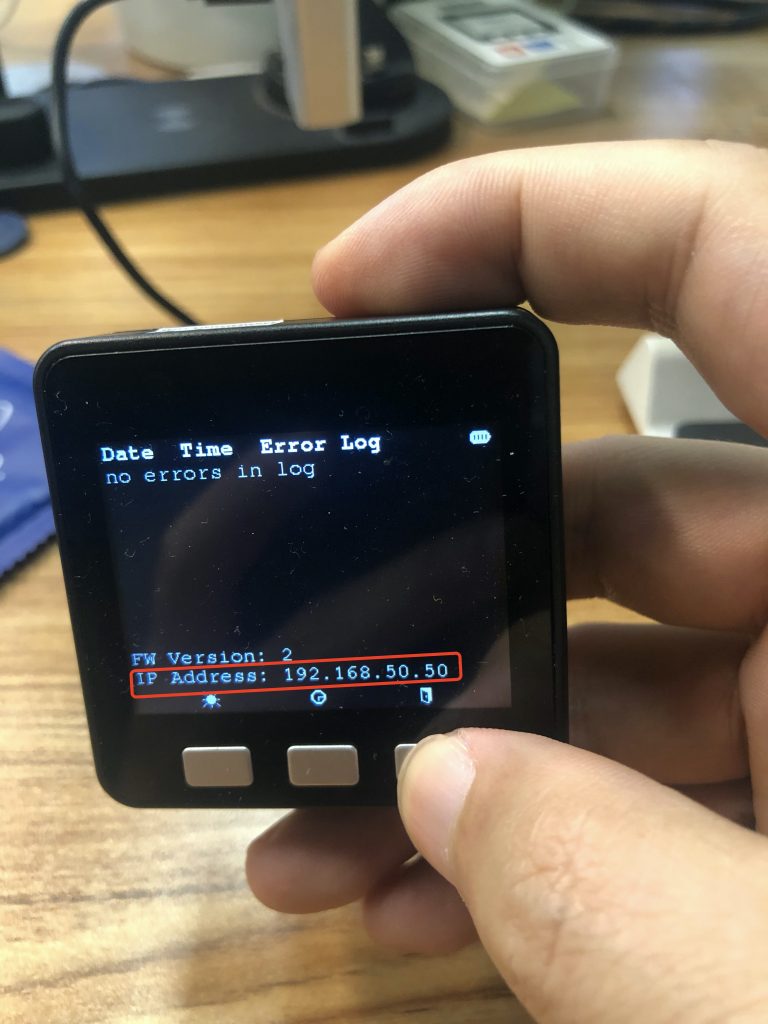
Check the IP address of the device: Press the button on the right to switch the page to the log page. The IP Address will be displayed at the bottom of the page.
-
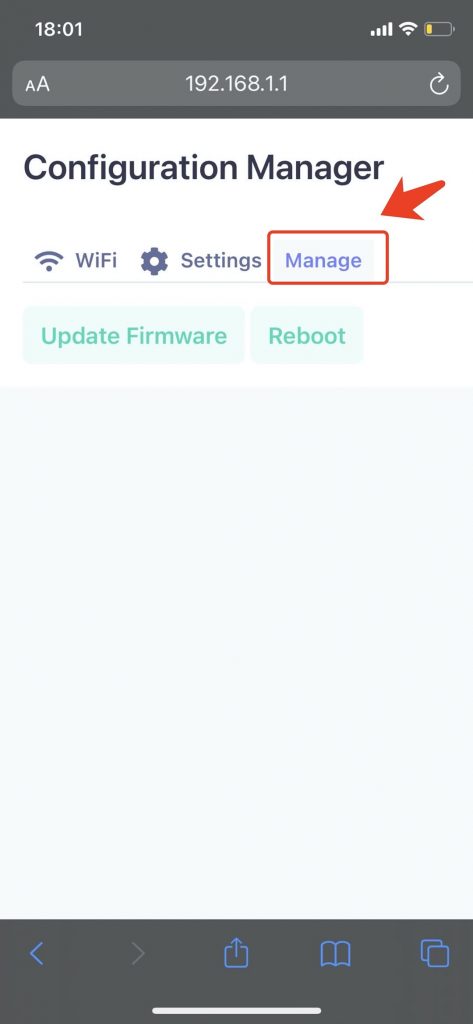
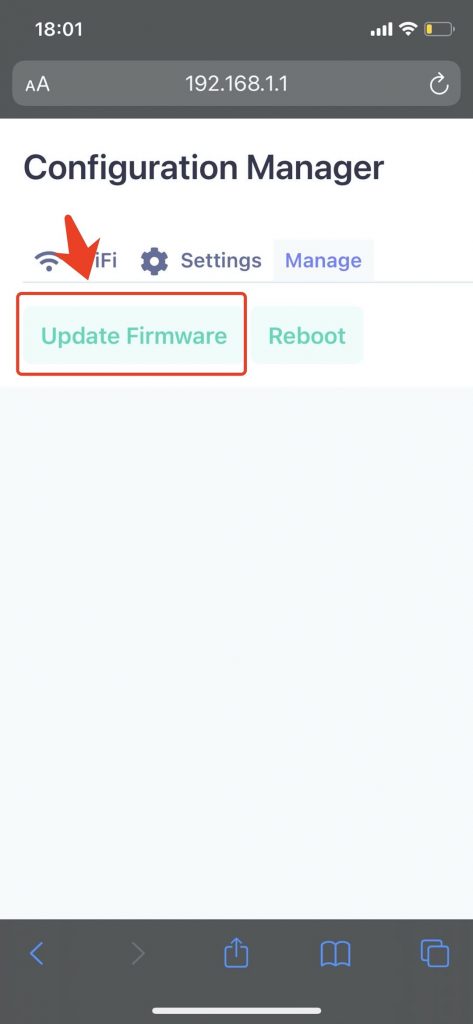
Enter this IP in the browser to enter this page.
-
Switch to the Manage Tab and click FW Update.
-
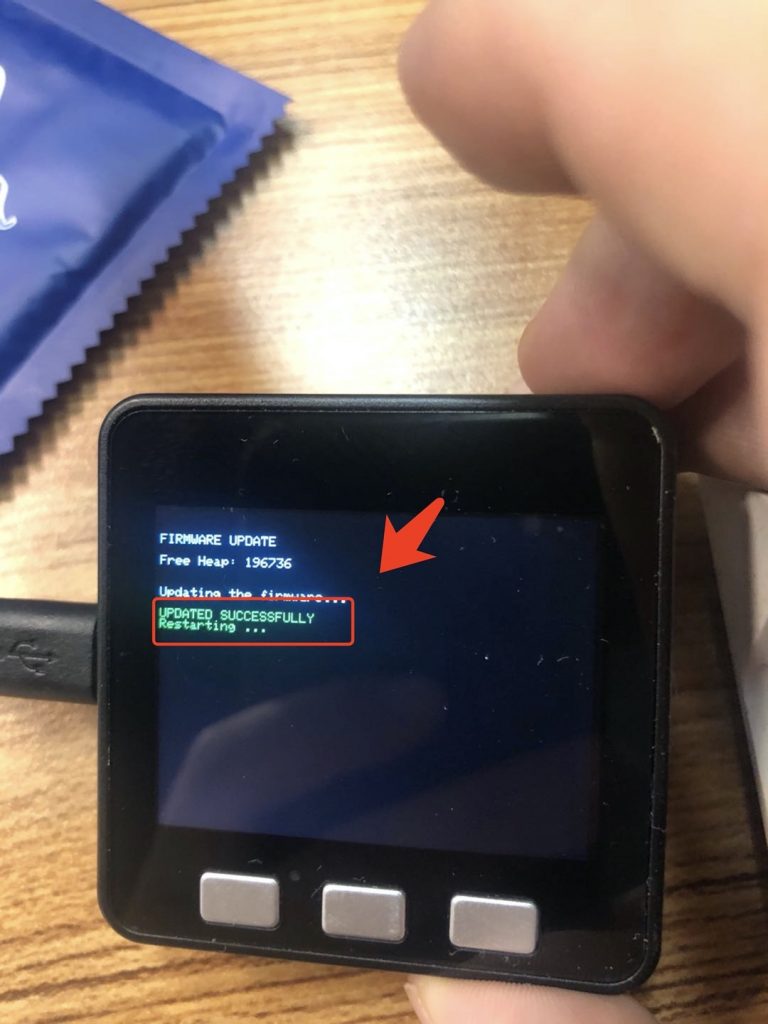
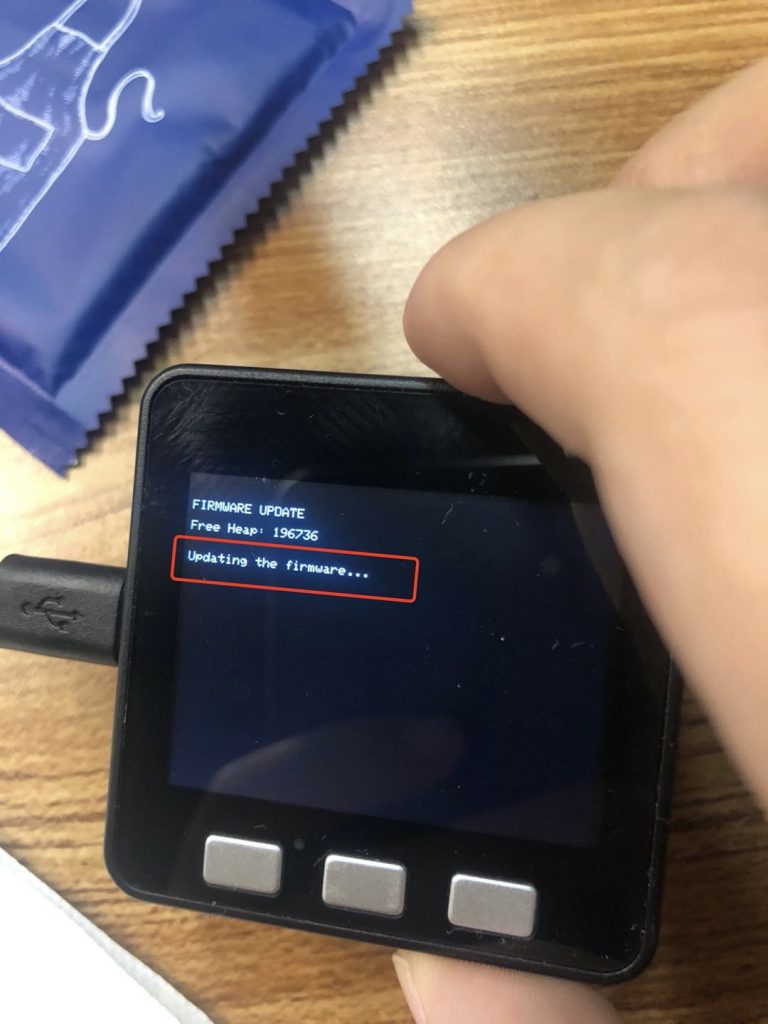
Waiting for the Update.

-
Update succeed.